How to Fix Blurry Photos for Printing With AI
Work out whether a phone photo has enough pixels to print, choose 2x or 4x AI upscaling, and inspect the result before ordering a larger print.
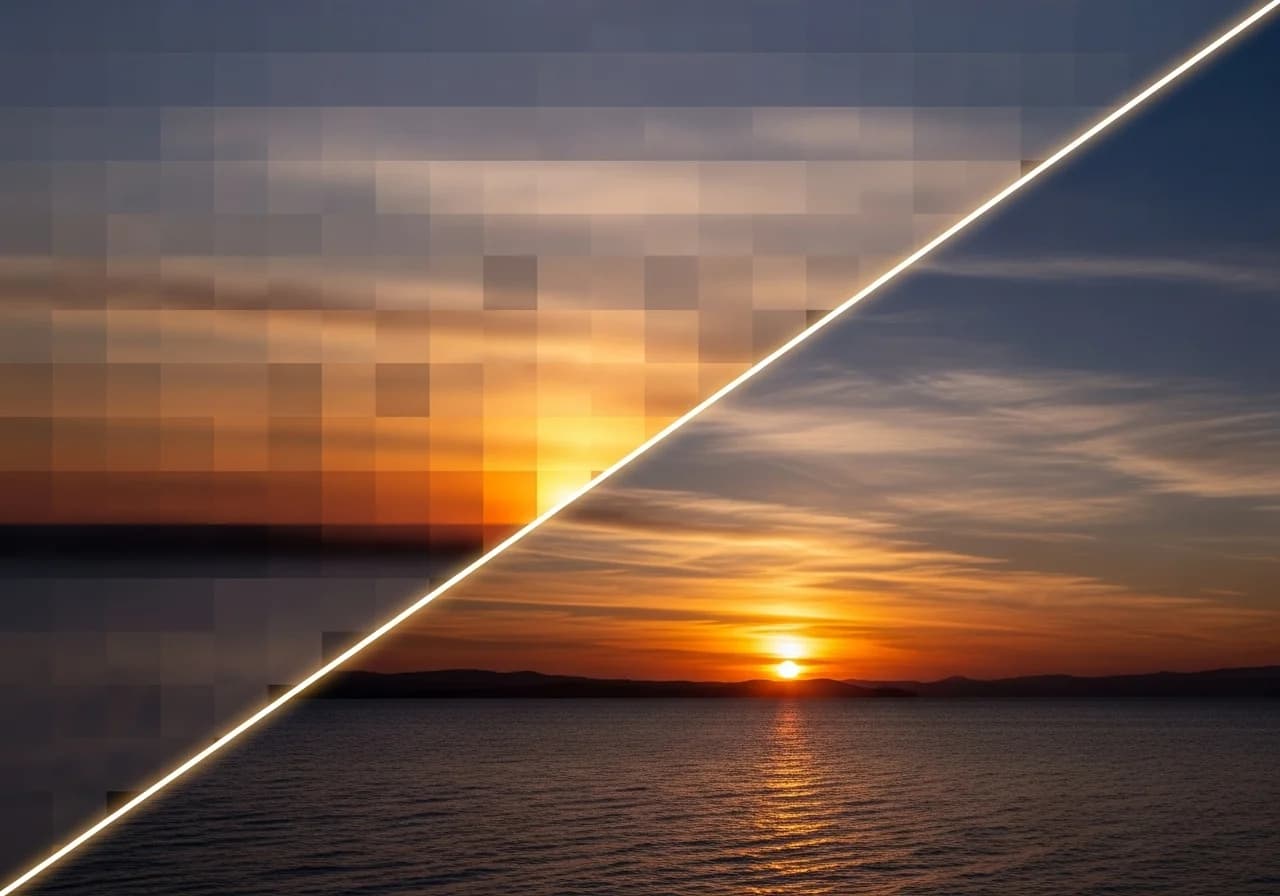
A phone photo that looks fine on screen can still print soft because the printer must spread a limited number of pixels across a larger physical area.
The useful fix is not “make it sharper” at any cost. First calculate how many pixels the intended print needs. Then use 2x or 4x AI upscaling only when the source file is too small, and inspect the enlarged result for invented texture before ordering the print.
Check whether the photo is actually too small
Printed resolution is measured in pixels per inch, or ppi. Adobe describes 300 ppi as the common standard for high-quality prints viewed up close, while noting that lower resolutions can still work when a large print is viewed from farther away.
Use this simple calculation:
required pixels = print size in inches × target ppiFor an 8 × 10 inch print at 300 ppi, the file should be about 2400 × 3000 pixels. The table below gives useful targets before cropping.
| Print size | Pixel target at 300 ppi | Pixel target at 220 ppi |
|---|---|---|
| 4 × 6 in | 1200 × 1800 | 880 × 1320 |
| 5 × 7 in | 1500 × 2100 | 1100 × 1540 |
| 8 × 10 in | 2400 × 3000 | 1760 × 2200 |
| A4 | about 2480 × 3508 | about 1820 × 2570 |
The 220 ppi column is not a guarantee from every print service. It is a practical lower target for many photo prints, especially when they will not be examined from a few centimetres away. Check the printer's own recommendation before exporting.
Decide whether the problem is resolution or focus
“Blurry” can describe several different problems, and upscaling does not solve all of them.
| Problem | What it looks like | Will upscaling help? |
|---|---|---|
| Too few pixels | Blocky edges and visible squares when enlarged | Often—the image can be enlarged and reconstructed more cleanly |
| JPEG compression | Smudges or blocks around edges and fine texture | Sometimes—moderate artifacts may be reduced, but heavy damage remains risky |
| Missed focus | The important subject was never sharp | Limited—AI can create plausible detail, not recover the exact detail the camera missed |
| Motion blur | A directional streak from camera or subject movement | Limited—small blur may improve, but faces and text can change |
| Digital zoom | Soft detail with noise and compression | Sometimes—inspect the result closely before printing |
If a face is completely out of focus or small text is unreadable in the source, an AI upscaler may invent a convincing approximation. That can be acceptable for a decorative image, but not when identity, documentation, or exact text matters.
Choose 2x or 4x upscaling
Nenis exposes two useful enlargement levels through its Standard Upscaler:
- 2x doubles the width and height. A 1200 × 1600 photo becomes 2400 × 3200 pixels.
- 4x quadruples the width and height. The same photo becomes 4800 × 6400 pixels.
Because both dimensions change, 2x produces four times as many total pixels and 4x produces sixteen times as many. More pixels do not automatically mean a better print. Use the smallest scale that reaches the required dimensions.
| Source and goal | Better starting choice |
|---|---|
| 1200 × 1600 source for a small 4 × 6 print | No upscale may be necessary after checking the crop |
| 1200 × 1600 source for an 8 × 10 print | 2x |
| 800 × 1000 source for an 8 × 10 print | 4x |
| Already large photo with mild softness | Keep the original or try 2x, then compare |
The current Nenis price appears before the job starts. At publication, 2x costs 1 credit and 4x costs 2 credits per image.
Upscale the photo in Nenis
- Open Nenis Studio and select Upscale.
- Upload the original phone or camera file.
- Check the source pixel dimensions in the file information on your phone or computer and compare them with the intended print size.
- Choose 2x when it reaches the target. Choose 4x only when 2x remains too small.
- Turn on Faces for a portrait when facial detail needs restoration; leave it off for landscapes, products, and artwork.
- Start one result and wait for the enlarged version.
- Download the result rather than taking a screenshot of the preview.
Nenis uses Real-ESRGAN for this workflow. The project describes Real-ESRGAN as a practical image-restoration approach trained to handle real-world degradation, and its inference tools support enlargement at different output scales.

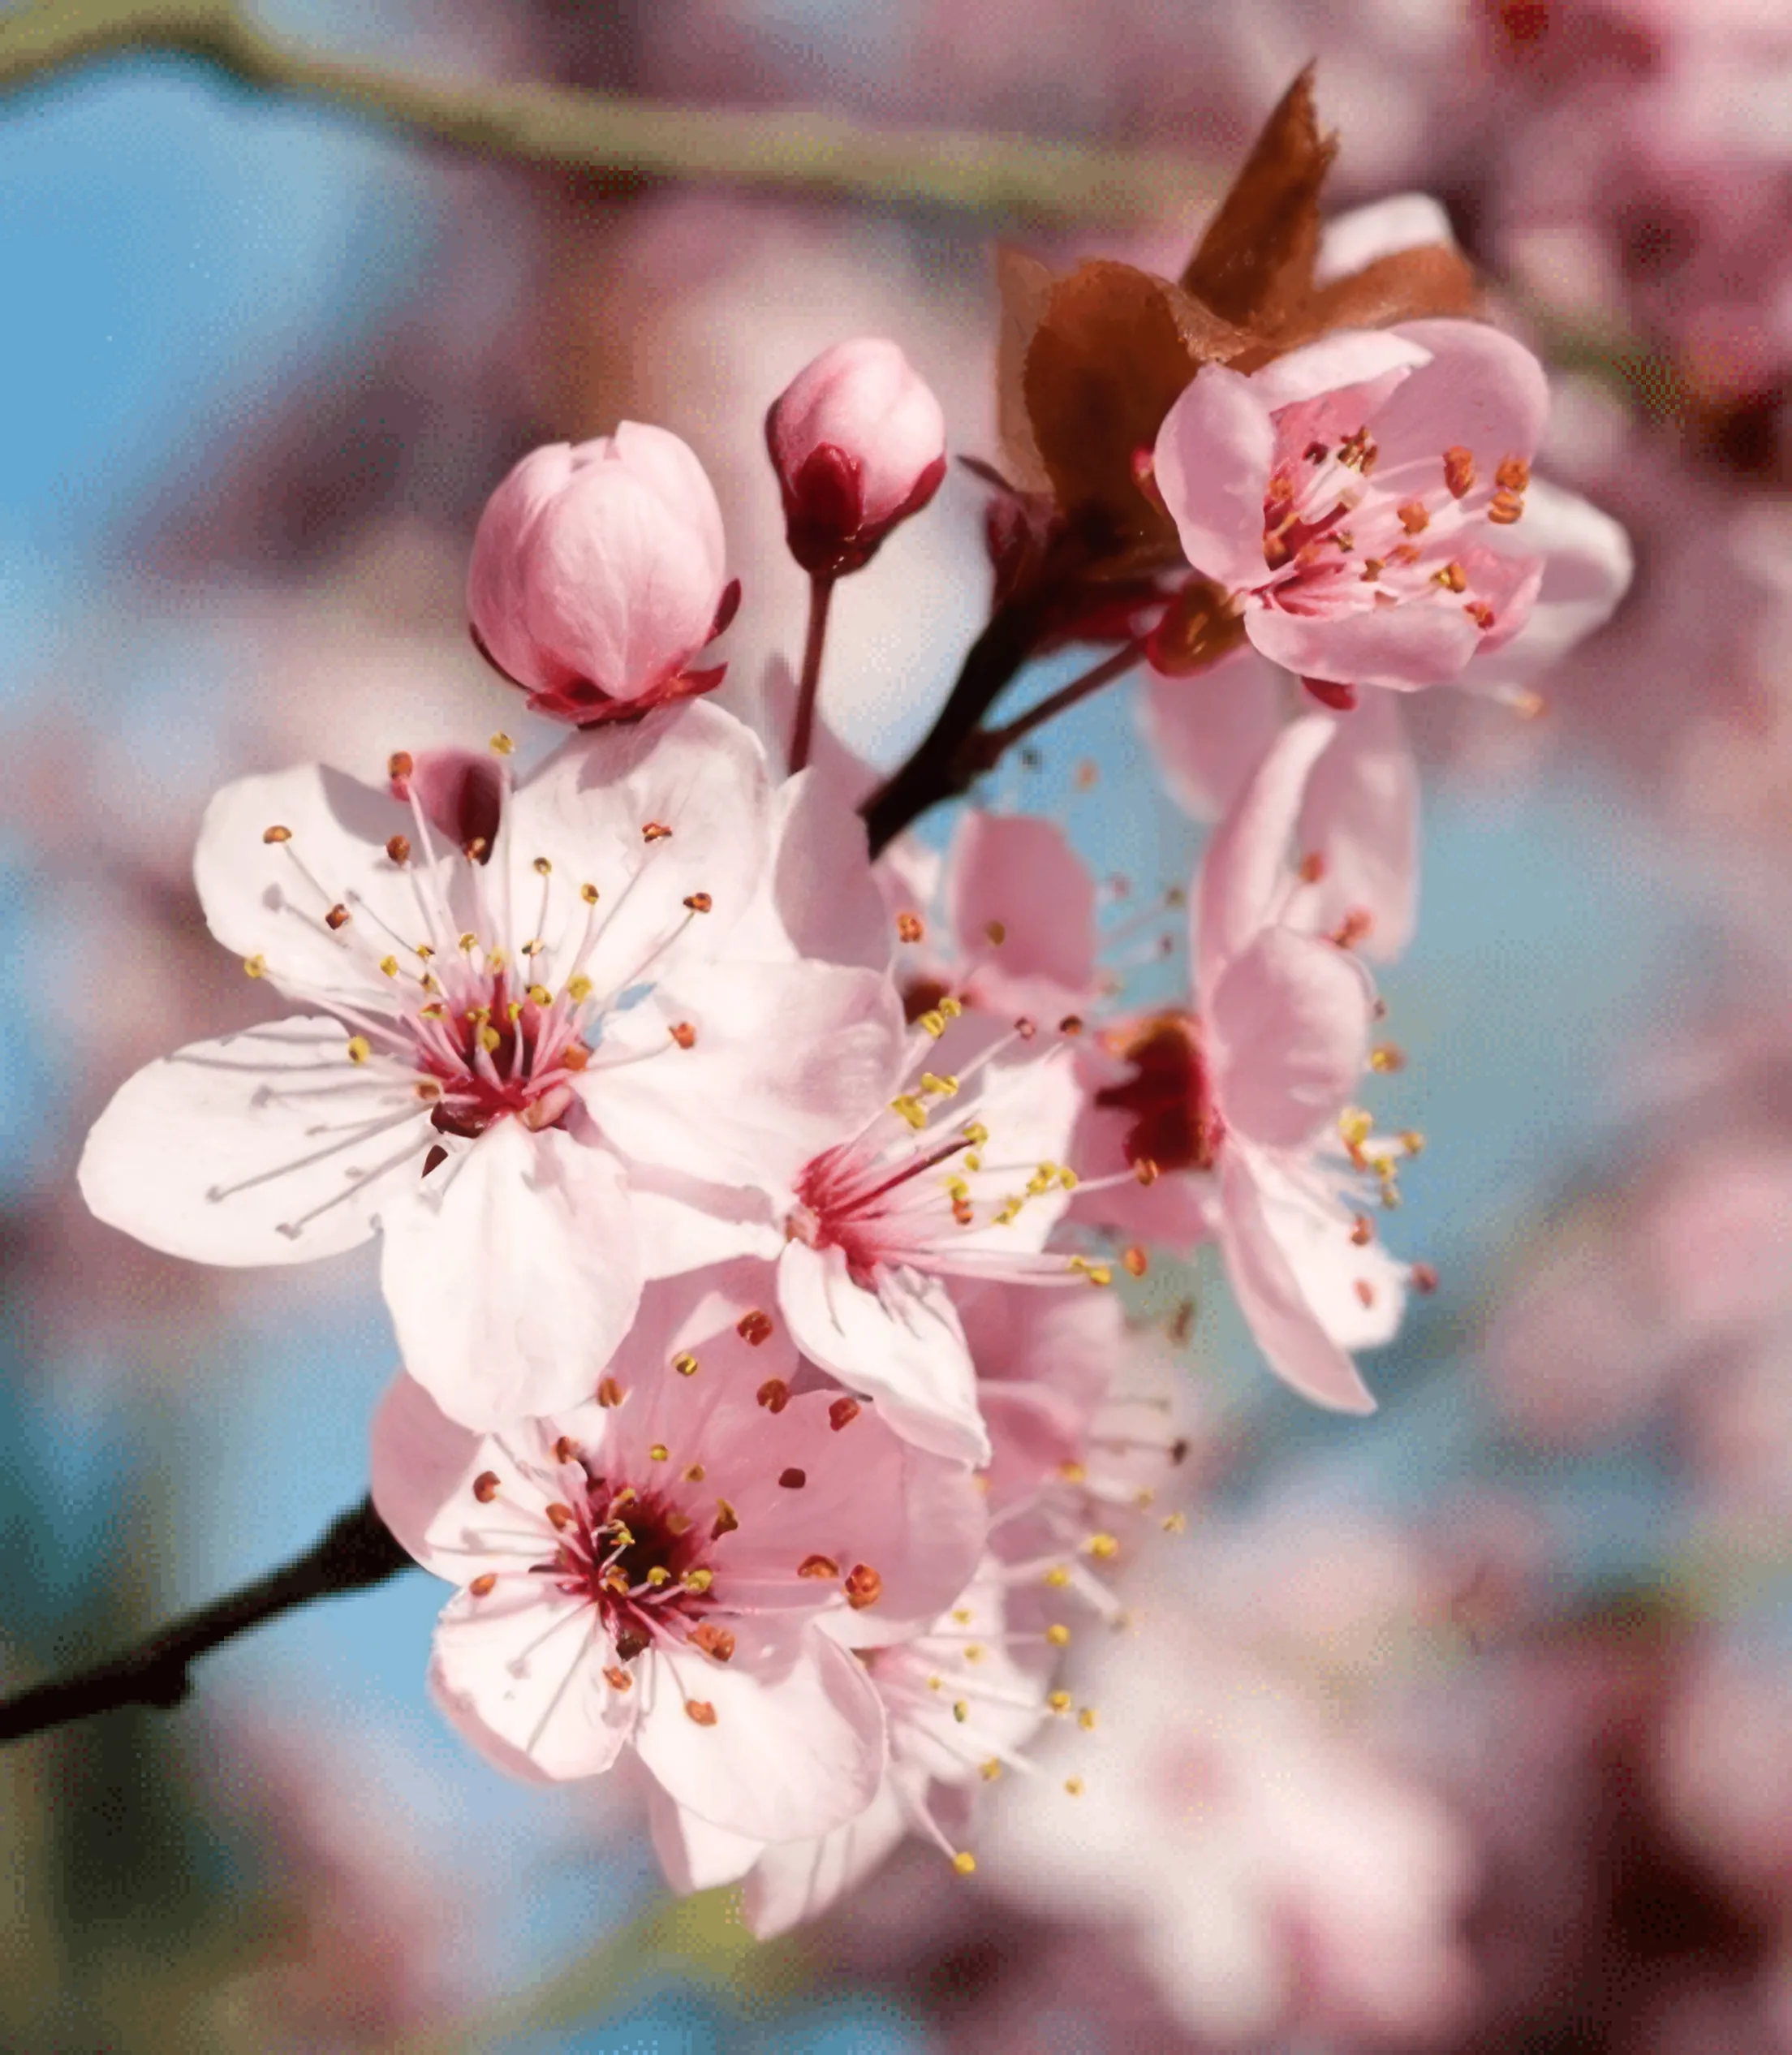
The larger result is easier to print, but it should still be treated as an AI reconstruction. Fine petals, pollen, hair, fabric, lettering, and distant faces deserve a full-size check.
Inspect the result before printing
Do not judge the upscale only from the full image fitted to the screen. Open both files at 100% and compare the areas where errors matter.
Check:
- eyes, teeth, fingers, jewellery, and hair edges;
- product labels, signs, dates, and other small text;
- repeating brick, fabric, grass, water, or foliage textures;
- halos around high-contrast edges;
- plastic-looking skin or waxy surfaces;
- false detail that appears sharp but was not present in the source; and
- the final crop at the print service's exact aspect ratio.
If 4x looks over-processed, compare a 2x result. A smaller, more natural file is usually preferable to a larger image filled with invented detail.
Avoid the most common printing mistakes
Do not confuse ppi with file dimensions
Changing a metadata field from 72 ppi to 300 ppi does not create new image information by itself. Adobe notes that the pixel count stays constant unless the image is resampled. What matters first is the actual width and height in pixels.
Crop before making the final calculation
A 4:3 phone photo does not fit an 8 × 10 frame without cropping. Calculate the required pixels after deciding which part of the image must remain.
Do not upscale a compressed copy when the original exists
AI can soften compression artifacts, but starting with a better file preserves more real information and reduces the amount the model must infer.
Order a small proof for important work
Screen brightness, paper, printer sharpening, and viewing distance all affect the final result. For a large family photograph, art print, or client order, test a smaller print or a cropped detail first.
When an AI upscaler is the wrong tool
Use the original file, rescan the source, retake the photograph, or work with a professional when:
- exact documentary detail must be preserved;
- a face or text is too blurred to identify confidently;
- the source is a tiny thumbnail copied from a website;
- the print will be viewed very close at a large size; or
- the image requires selective retouching rather than general enlargement.
Upscaling is best for a basically good image that lacks enough pixels. It is not a replacement for focus, a clean scan, or an original high-resolution capture.
The recommendation
Calculate the print requirement first. If the original falls short, use 2x when it reaches the target and 4x only when it does not. Inspect the enlarged image at 100%, check the crop, and order a proof when the print matters.
That workflow gives the upscaler a narrow job: make a usable file larger without asking it to reinvent the photograph.
Sources and image credits
- Adobe: printed image resolution
- Adobe: resolution specifications for printing images
- Real-ESRGAN official repository and paper links
The before-and-after visuals are Nenis archive demonstration assets restored from the earlier version of this guide.