How to Create Marketplace Product Photos With AI
Turn a clear product snapshot into cleaner marketplace listing images without changing the item buyers will receive.
AI can turn a distracting product snapshot into a useful listing image, but the safest workflow is not to ask it to invent a better product.
The product itself is the evidence of what a buyer will receive. Keep its shape, material, color, proportions, construction, labels, and visible imperfections accurate. Use AI to improve the presentation around it: background, lighting, crop, surface, and simple supporting shadows.
The Marketplace Product Photo template in Nenis is built around that distinction.
The quick workflow
- Photograph the real product clearly.
- Upload one image where the entire item is visible.
- Choose a neutral marketplace background.
- Keep soft grounding shadows unless the marketplace requires otherwise.
- Inspect the product against the source before publishing.
Do not make one AI image carry the entire listing. A useful marketplace gallery normally combines a clean main image with detail, scale, angle, packaging, and lifestyle photographs.
Start with an honest source photo
The input does not need to look like a professional studio photograph. It does need to show the product clearly enough for the model to understand what must remain.
A reliable source image has:
- The complete product inside the frame.
- Sharp edges and visible material texture.
- Neutral, reasonably even lighting.
- No hand covering important details.
- Enough resolution to inspect labels, seams, clasps, fasteners, or surface finish.
- A camera angle you would be comfortable keeping in the final image.
This cluttered desk photograph is not ready for a listing, but the necklace itself is visible and in focus.
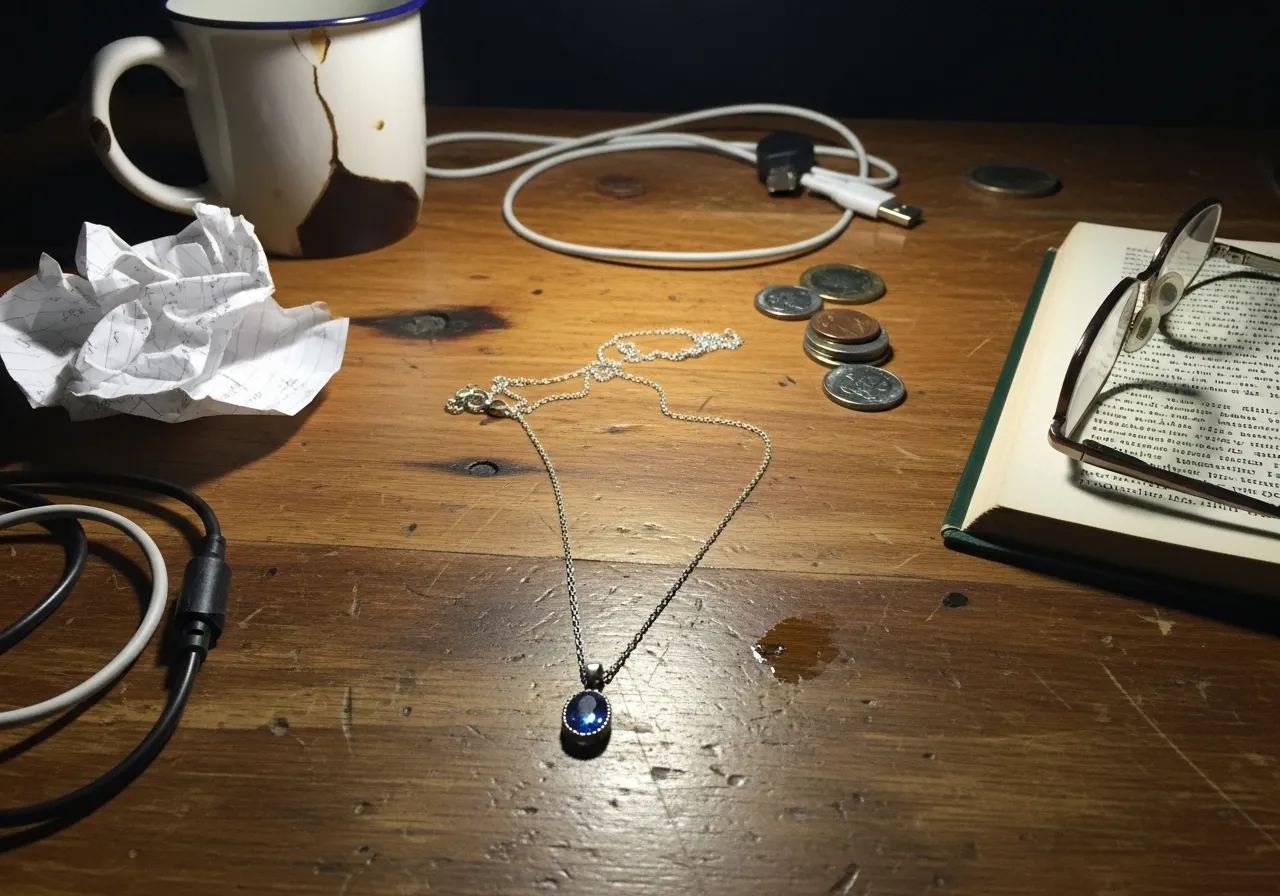
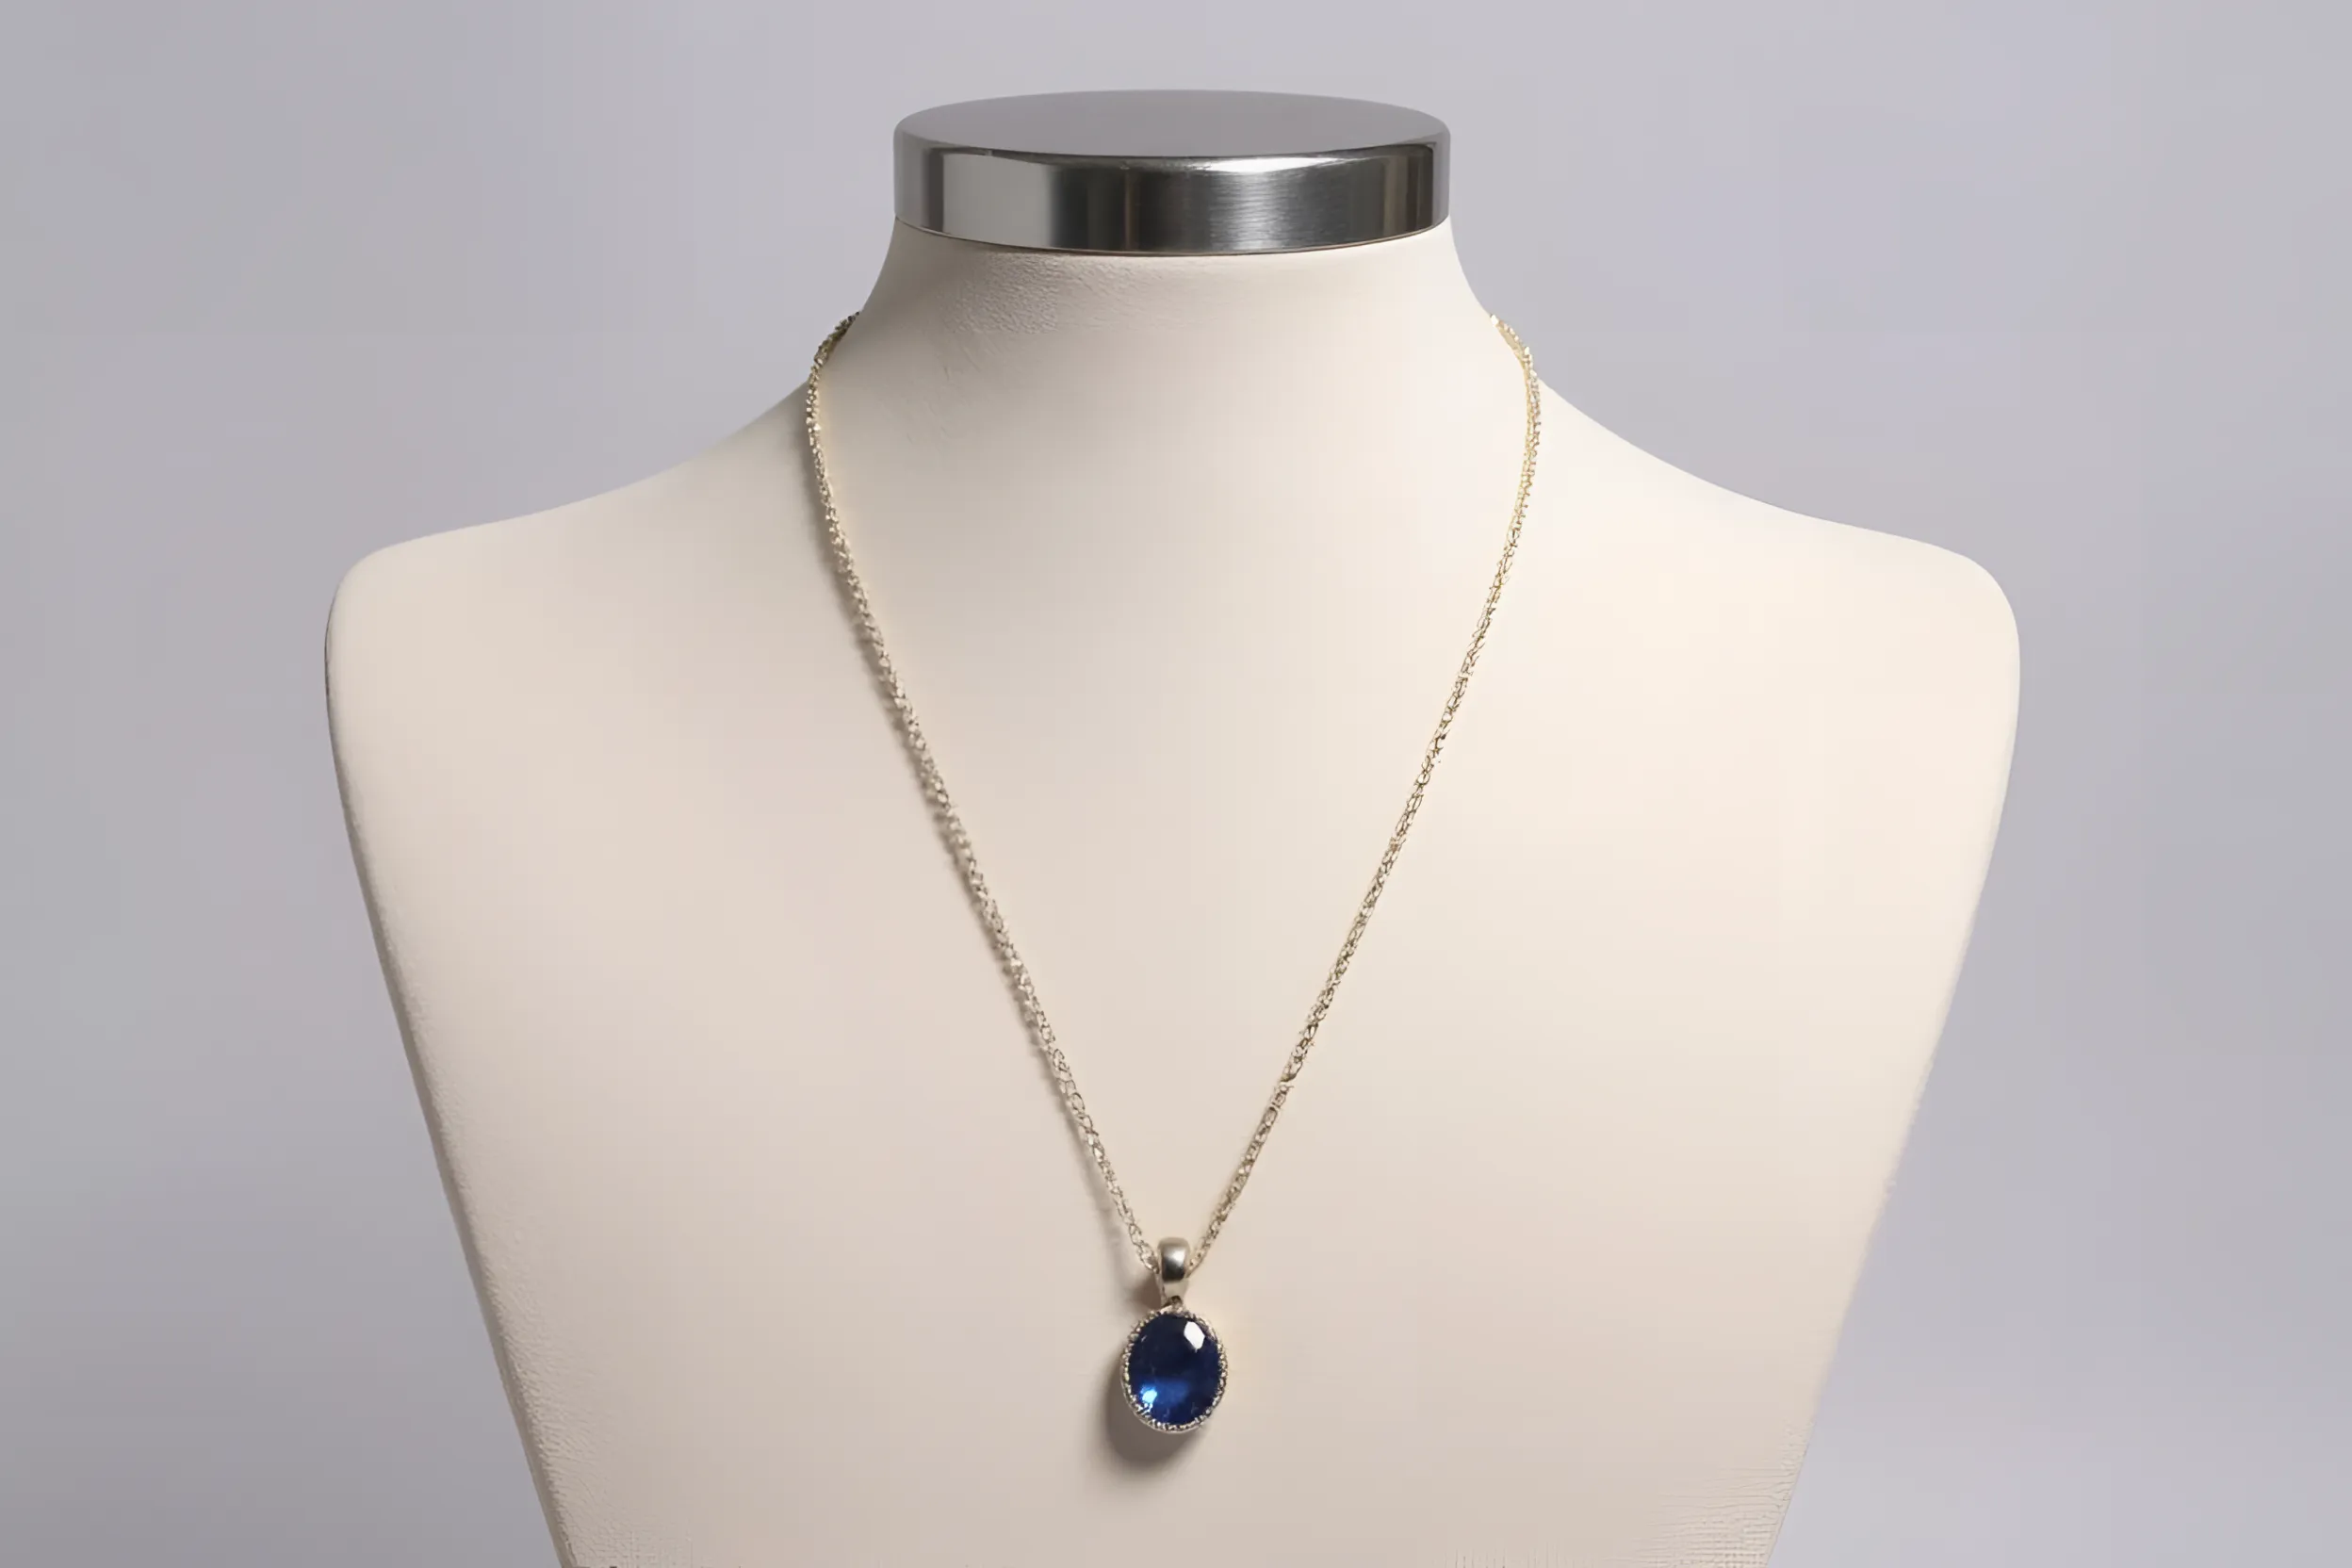
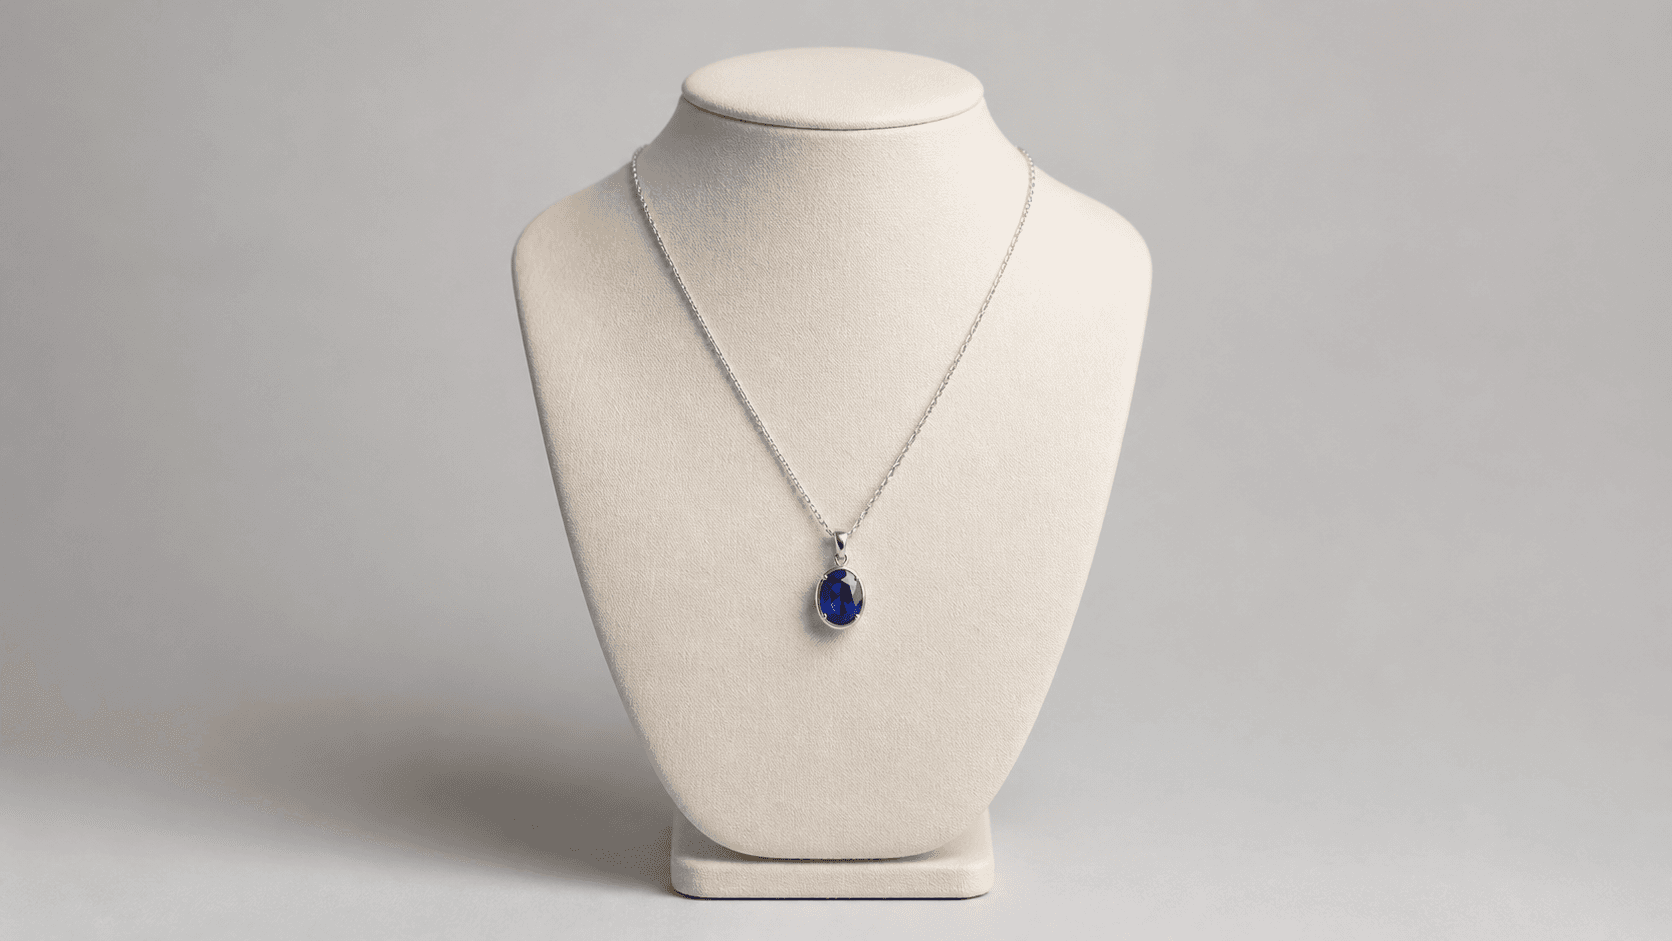
The result is cleaner, but it still needs verification. Check the pendant shape, setting, chain pattern, color, clasp, and every detail a buyer could reasonably use to judge the item.
Choose the right first image
Etsy's current seller guidance recommends a clear first photograph and notes that listing images can appear in different crops and ratios. Its official product-photography guide separates useful listing images into studio, lifestyle, scale, detail, group, packaging, and process views.
For the first image, prioritize recognition over atmosphere:
- Show one product clearly.
- Keep the background simple.
- Leave breathing room around the object.
- Avoid a collage or dense text overlay.
- Make the product large enough to understand at thumbnail size.
- Keep the center of interest safe for square and landscape crops.
Lifestyle imagery belongs later in the gallery, where it can communicate mood and use without hiding what is being sold.
Use a preservation-first product prompt
When editing manually in Nenis Canvas, use a prompt that separates the locked product from the editable scene.
Create a clean marketplace product photograph from this source image.

Treat the product as locked source material. Preserve its exact shape, proportions, construction, color, material, texture, label, logo area, visible hardware, and every included component.

Remove the original background and place the product on a warm off-white studio surface with soft natural side light and one subtle grounding shadow.

Keep the original camera angle. Do not redesign, repair, simplify, recolor, duplicate, or add parts to the product. Do not invent packaging, accessories, text, labels, reflections, or props.
For a transparent catalog asset, use Nenis Background Remover first. For a styled but controlled listing image, use the Marketplace Product Photo template or a high-fidelity image model in Canvas.
Build a complete listing set
One clean image gets attention. A complete gallery answers the questions that stop a buyer from ordering.
| Image | What it should prove |
|---|---|
| Main image | What the product is |
| Second angle | Shape and construction |
| Detail image | Material, finish, stitching, clasp, or texture |
| Scale image | How large the product is |
| Lifestyle image | How it looks in use |
| Variation image | Available colors or versions |
| Packaging image | What arrives with the order |
AI is most useful for creating a consistent background system or carefully staged secondary scene. Real photographs remain important for scale, variations, packaging, and anything that must document the physical item exactly.
What to inspect before publishing
Compare the source and result at full size.
- Did the dimensions or silhouette change?
- Are stones, buttons, holes, ports, seams, or fasteners still present?
- Did a logo or label become fake text?
- Did the material change from matte to glossy, metal to plastic, or fabric to leather?
- Did the model add a second object or accessory that is not included?
- Is the color still representative under neutral lighting?
- Does the shadow make the product appear to float?
If any answer is wrong, narrow the edit. Do not publish an attractive image that describes a different product.
The recommendation
Use AI to remove the messy desk, not to replace the necklace.
Start with one accurate product photograph, generate a restrained main image, and support it with real detail, scale, variation, and packaging views. That produces a cleaner listing without weakening buyer trust.
Sources and image credits
Marketplace guidance is based on Etsy's official 7 Essential Types of Product Photos, listing-image requirements and best practices, and listing-photo editing guidance. Marketplace policies change, so check the rules for the platform and product category before publishing. The Nenis examples use fictional subjects and products created for demonstration.